Creating & Editing Scenarios
Create new scenarios from scratch, copy and modify existing ones, and edit scenario parts and checklists.
There are two main methods to create a new scenario:
- Copy an existing scenario and modify it
- Create one from scratch
You can also create scenarios from any web browser using the SimVS Portal. See Portal Scenarios for details.
Copy an Existing Scenario
Open the Library
From the instructor tablet, tap Cases to open the Scenario Library. In the management view, each scenario shows Download, Share, Edit, and Copy options.
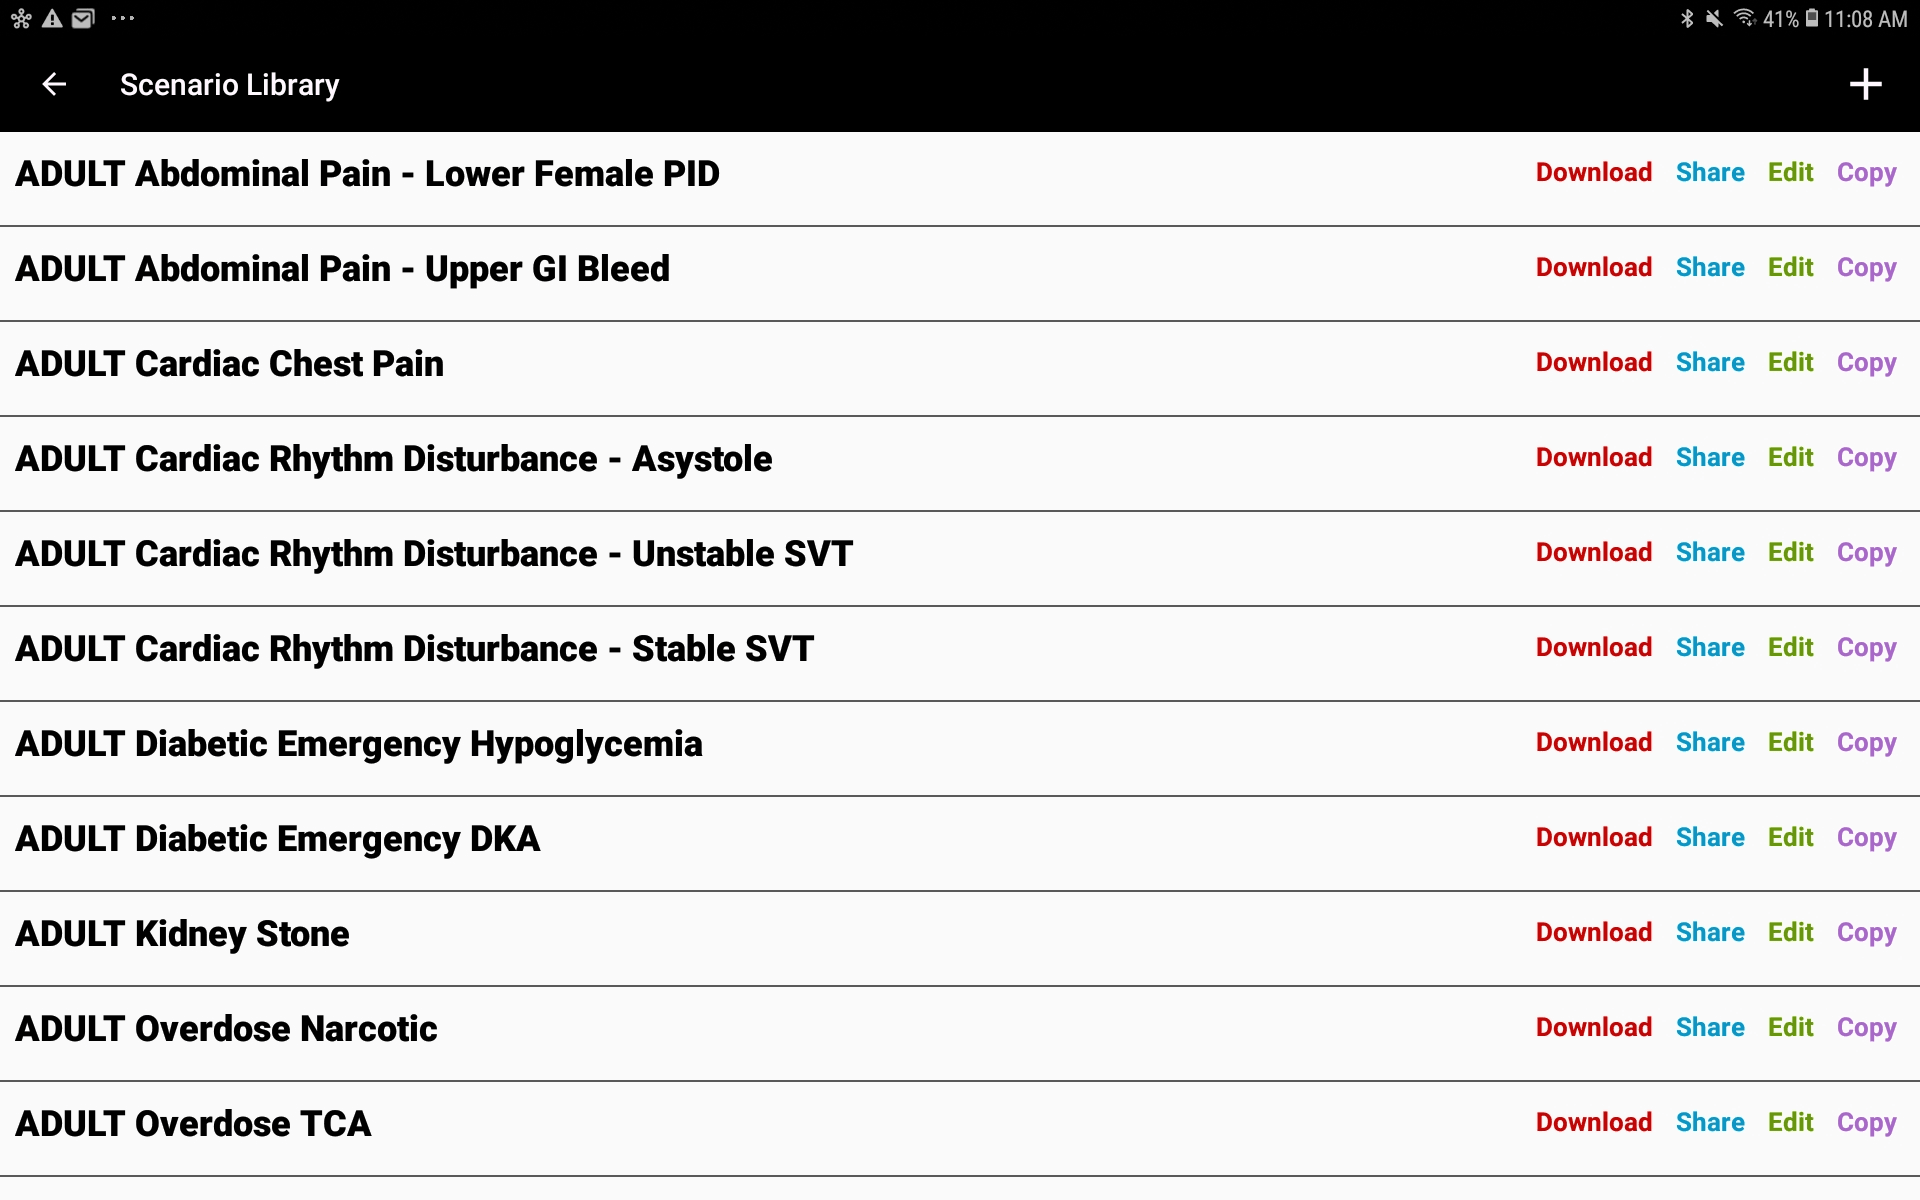
Select Copy
Scroll to the scenario you want to copy and tap the Copy icon on the far right of the scenario name.
Locate the Copy
The copied scenario will appear in the master scenario list as "Copy of [original name]" in alphabetical order. You can then edit it as needed.
Create a New Scenario
Open the Add Scenario Screen
Select the + icon in the upper right of the Library screen. The Add Scenario screen appears.

Configure Scenario Parts
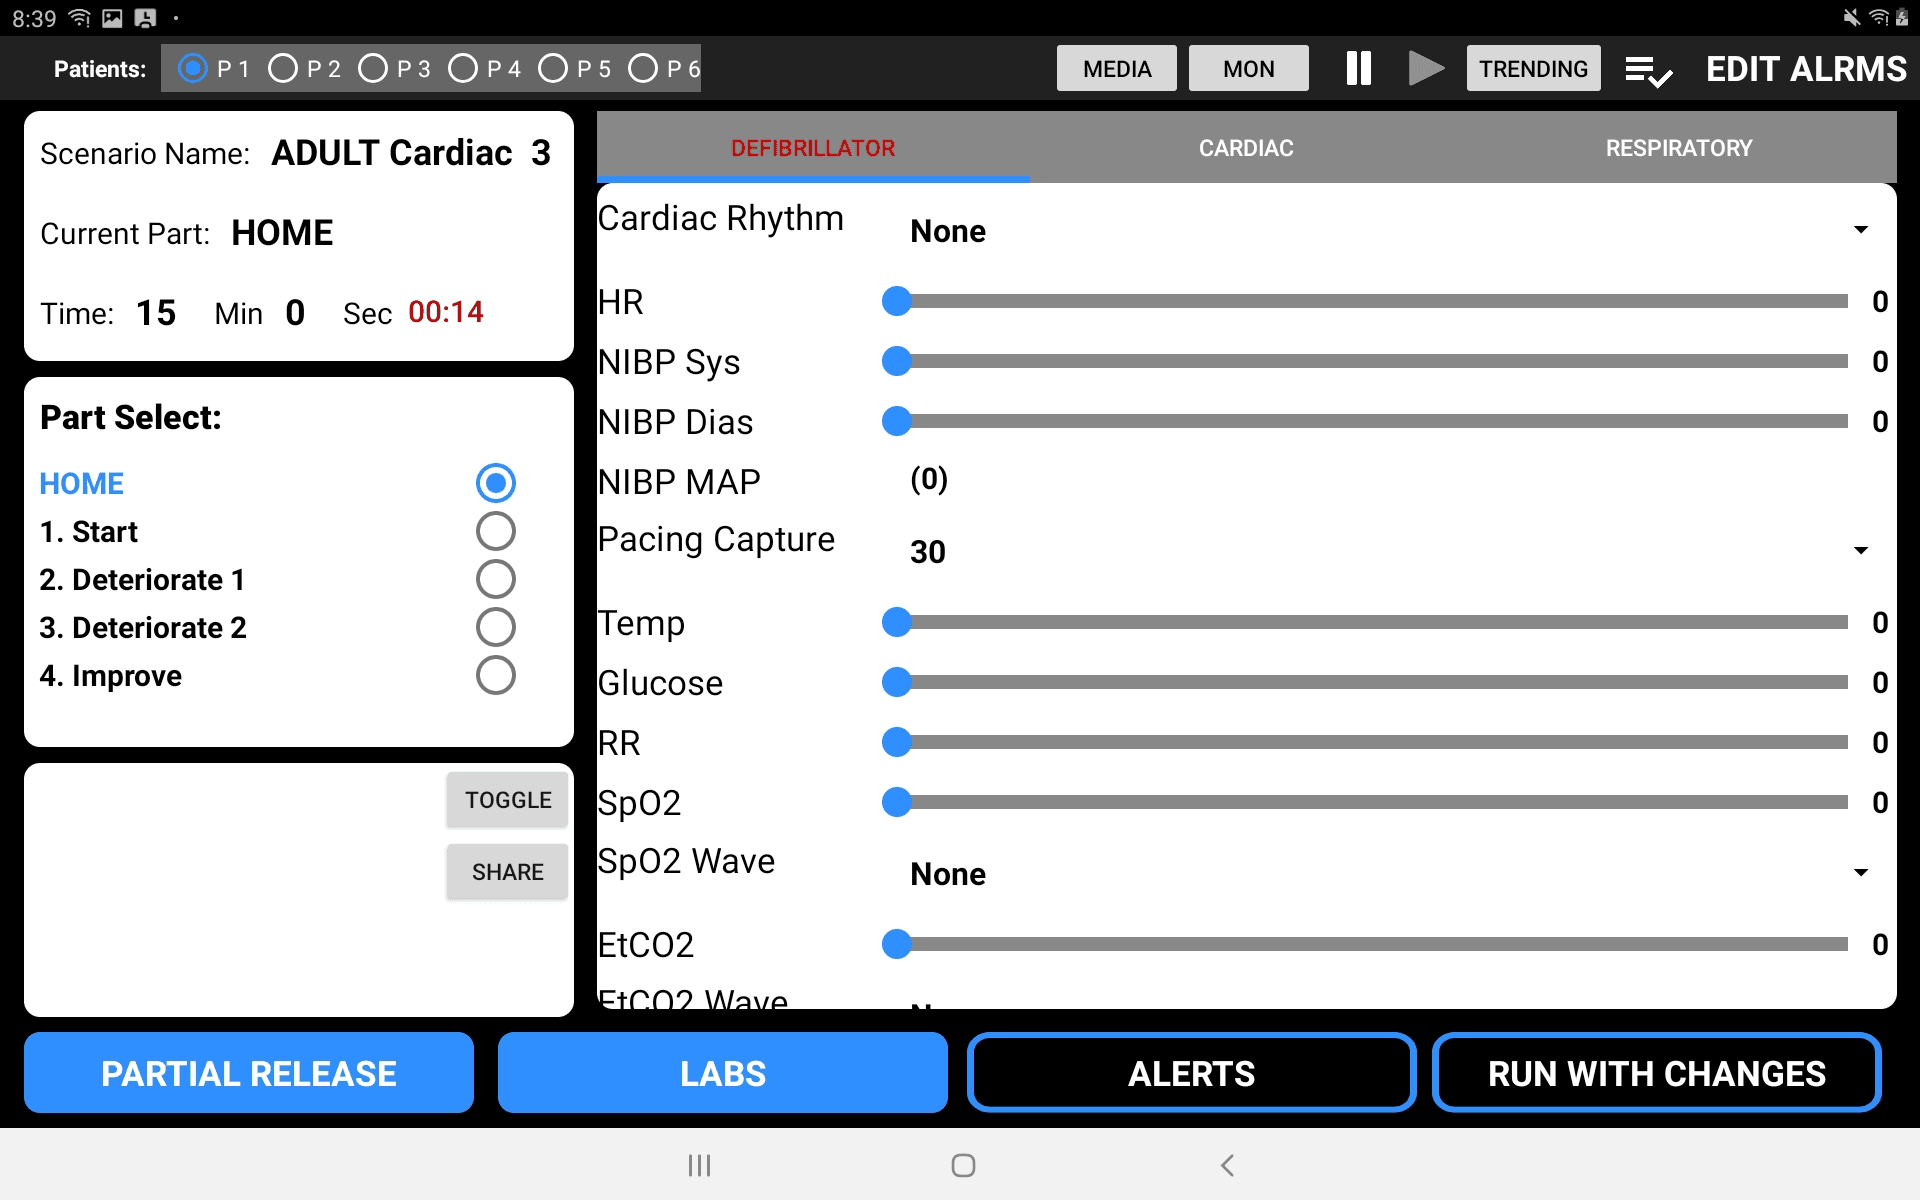
The scenario editor is divided into sections:
- Upper Left — Scenario name, current part name, and time control
- Middle Left — Part Select list with ADD, DELETE, and REORDER buttons
- Right side — Parameter tabs: Defibrillator, Cardiac, Respiratory
Create new parts and set physiology values for each. Name the part, set how long it should run before advancing, and assign physiology values using the sliders.
Update Each Part
Once a part is configured, tap UPDATE PART in the lower right to save it.
Add More Parts
Tap the ADD button to create the next part. Parts can also be deleted or reordered. Continue adding parts until the scenario is complete.
Create a Checklist
Select EDIT ALRMS (Edit Checklists) at the top right of the screen and enter checklist items in the order you want them to appear.
Save the Scenario
When the entire scenario is complete, press SAVE. The new scenario will be added to the Library in alphabetical order.
The Edit Screen
The Edit screen is accessed by the pencil icon and provides individual control of scenario parameters. It is divided into 4 main sections:
| Section | Location | Contents |
|---|---|---|
| Scenario Info | Upper left | Scenario name, Part name, Time control |
| Part Select | Middle left | List of scenario parts with selection dots |
| Notes | Lower left | Instructor notes, Toggle, and Share |
| Parameters | Right side | Defibrillator, Cardiac, or Respiratory tabs |
On-the-Fly Editing
Scenarios can be modified in real time while running:
- Temporary changes — Make a change and select RUN WITH CHANGES to apply it for the current instance only
- Permanent edits — Edit and save the scenario to keep changes for future sessions
Operators do not need to advance through parts linearly. Select any part from the Part Select list — the blue dot indicates the active part when RUN WITH CHANGES is selected.
Editing an Existing Scenario
Open Edit Mode
From the Scenario Library, tap the pencil icon to the right of the scenario name.
Modify Parts
The Edit screen opens. Select the part you want to modify, change any parameter values, then tap UPDATE PART.
Add New Parts
New parts can be added at any time from the Edit screen using the ADD button.
Save Changes
Tap SAVE to persist your changes.