Setup & Licensing
What's in the box, how to connect your devices, and how to manage your SimVS Hospital licenses.
Package Contents
The SimVS Hospital Series comes in four configurations. All packages include the same core hardware — the difference is in monitor types and scenario count.
Hardware (all packages)
Every package ships with:
- 1x Instructor Tablet — runs the instructor control app
- 1x Student Tablet — displays the patient monitor / defibrillator
- 1x Defibrillator Bag — carry case with monitor display window
- 1x Wireless Router — dedicated WiFi router for device communication
- 1x Simulation Leads — SpO2 probe, 3/12-lead ECG, defibrillator pads, BP cuff
Software by Package
| Feature | Hospital | Hospital Plus | Hospital Pro | Hospital OB |
|---|---|---|---|---|
| Patient Monitor | Yes | Yes | Yes | Yes |
| Defibrillator | Yes | Yes | Yes | Yes |
| Telemetry | Yes | Yes | Yes | Yes |
| Ventilator | — | Yes | Yes | — |
| Fetal Monitor | — | — | Yes | Yes |
| Preprogrammed Scenarios | 40 | 50 | 60 | 50 |
For full package details and pricing, see the Hospital Series product page.
Connecting Your Devices
To connect your instructor and student tablets, follow the Device Pairing guide. SimVS supports two connection modes:
- Server Mode (recommended) — devices connect through the SimVS cloud server. Supports auto-reconnect, automatic updates, and Web Portal sync.
- Router Mode — devices connect directly via the included wireless router. No internet required.
For network requirements, see Network Setup.
Managing Licenses
Both the instructor and student tablets have a Licenses section at the bottom of the main screen. Your license determines which monitor types and features are available.
Viewing Your License
Tap Licenses to expand and see your active licenses:
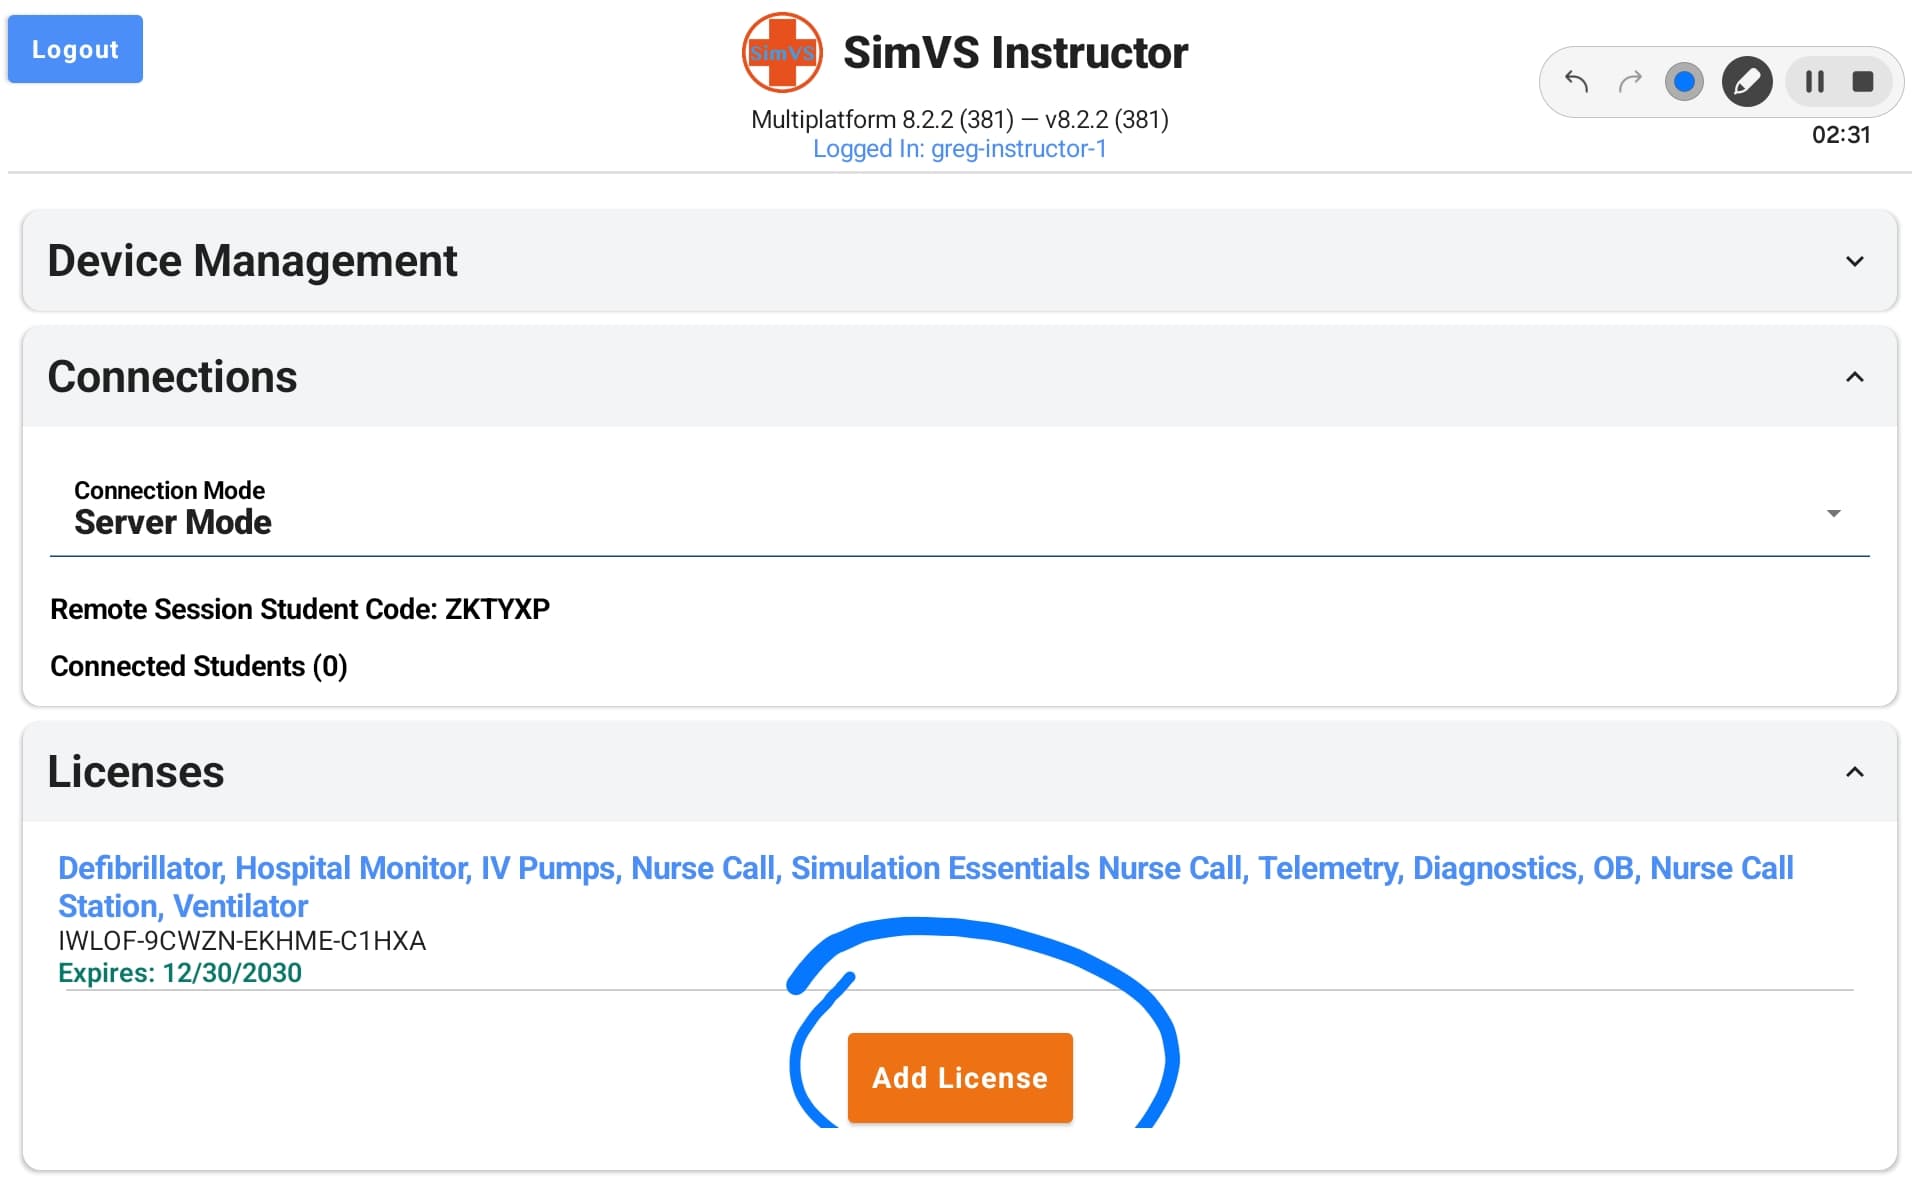
Each license shows:
- Included features — the list of monitor types and capabilities enabled (shown in green)
- License code — your unique license identifier
- Expiration date — when the license expires