Online Scenario Creation
Create and manage simulation scenarios from any web browser using the SimVS Online Portal at portal.simvs.net.
Online Scenario Creation
SimVS now features a web-based portal that allows instructors to create and manage simulation scenarios from any computer with a web browser. Previously, scenario creation could only be done directly on the Instructor Tablet — now you can build scenarios online and they will automatically sync to your devices.
What You Will Need
- A computer with a web browser (Chrome, Firefox, Safari, or Edge)
- Your Instructor Device login credentials (username & password)
- Internet connection
Getting Started
Log In to the SimVS Portal
Open your web browser and go to portal.simvs.net. Enter your Instructor Device username and password, then click Login.
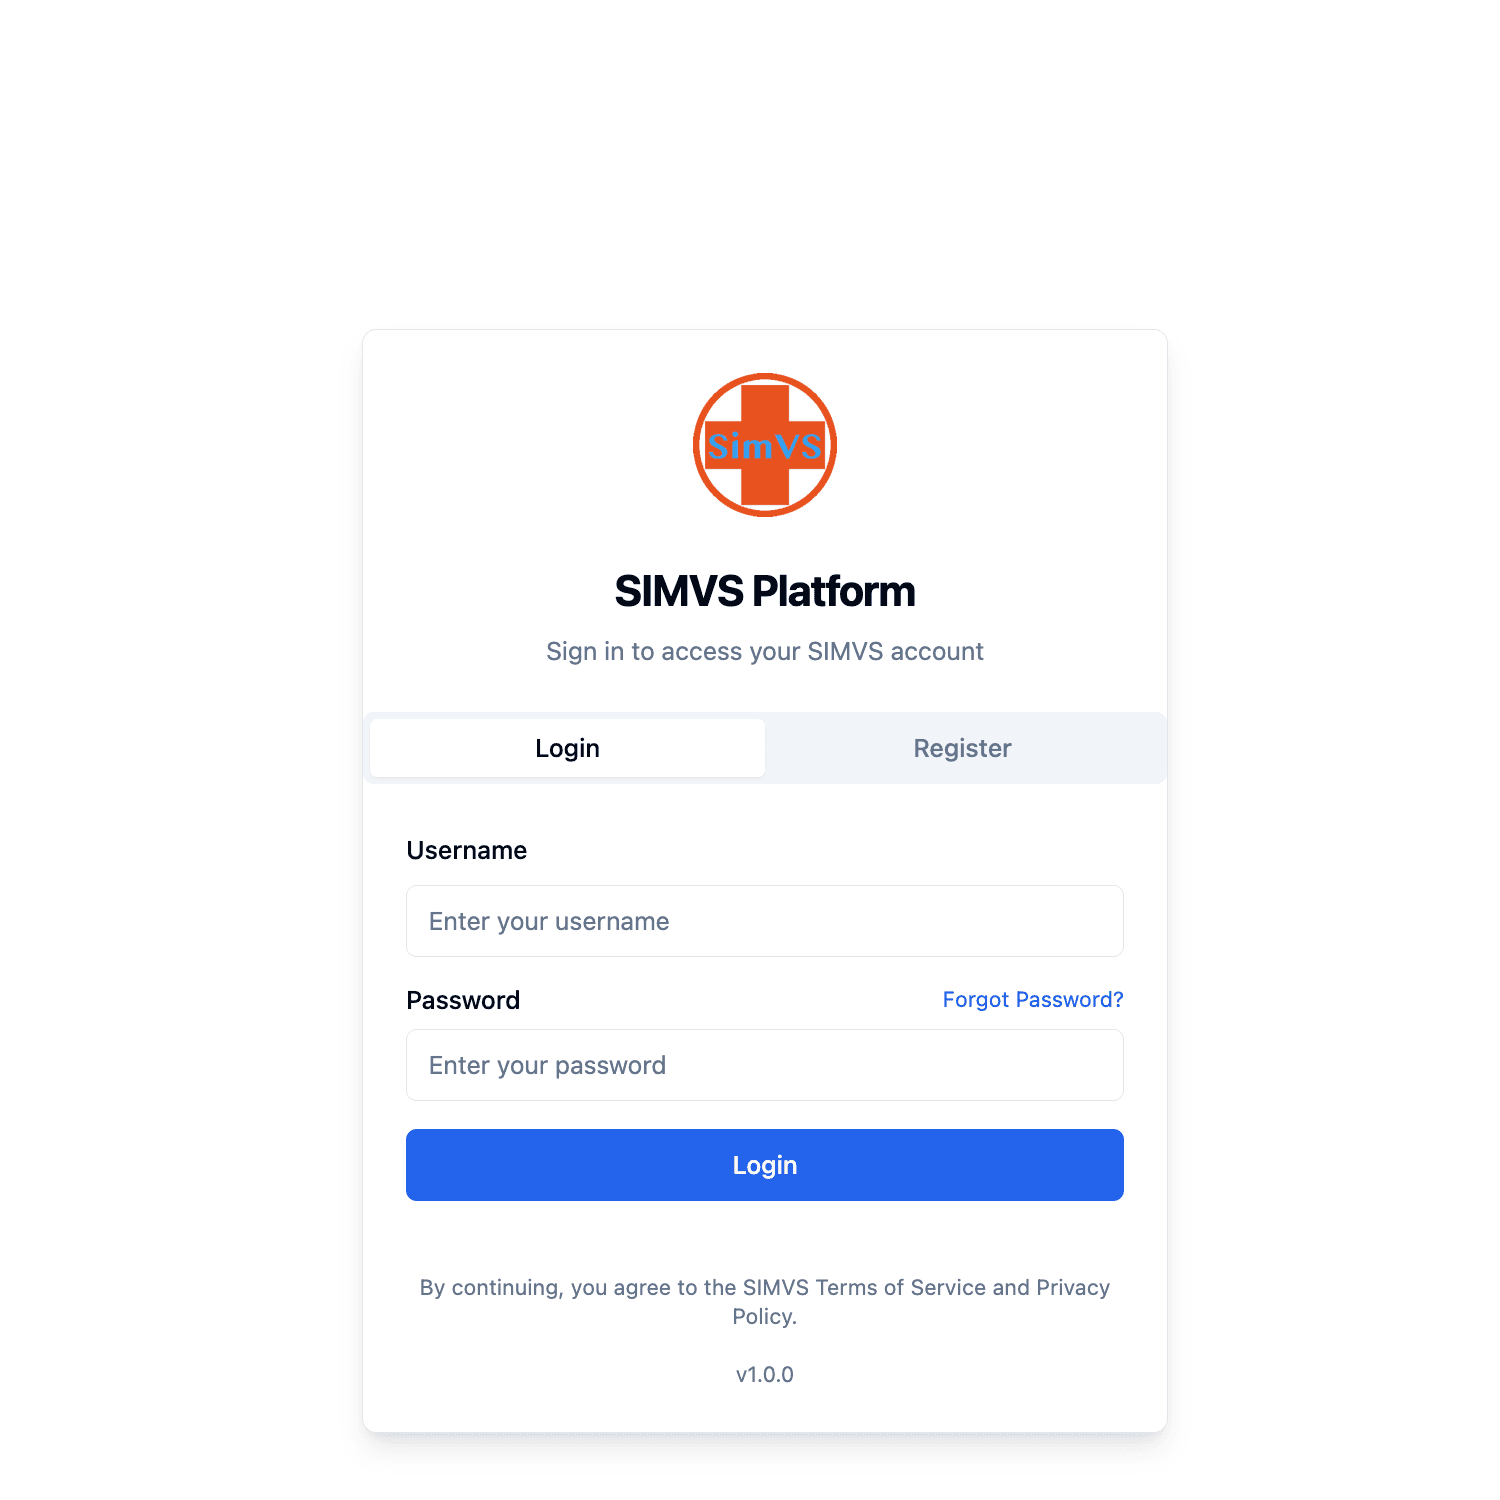
Use the same credentials you use to log in on your Instructor Tablet.
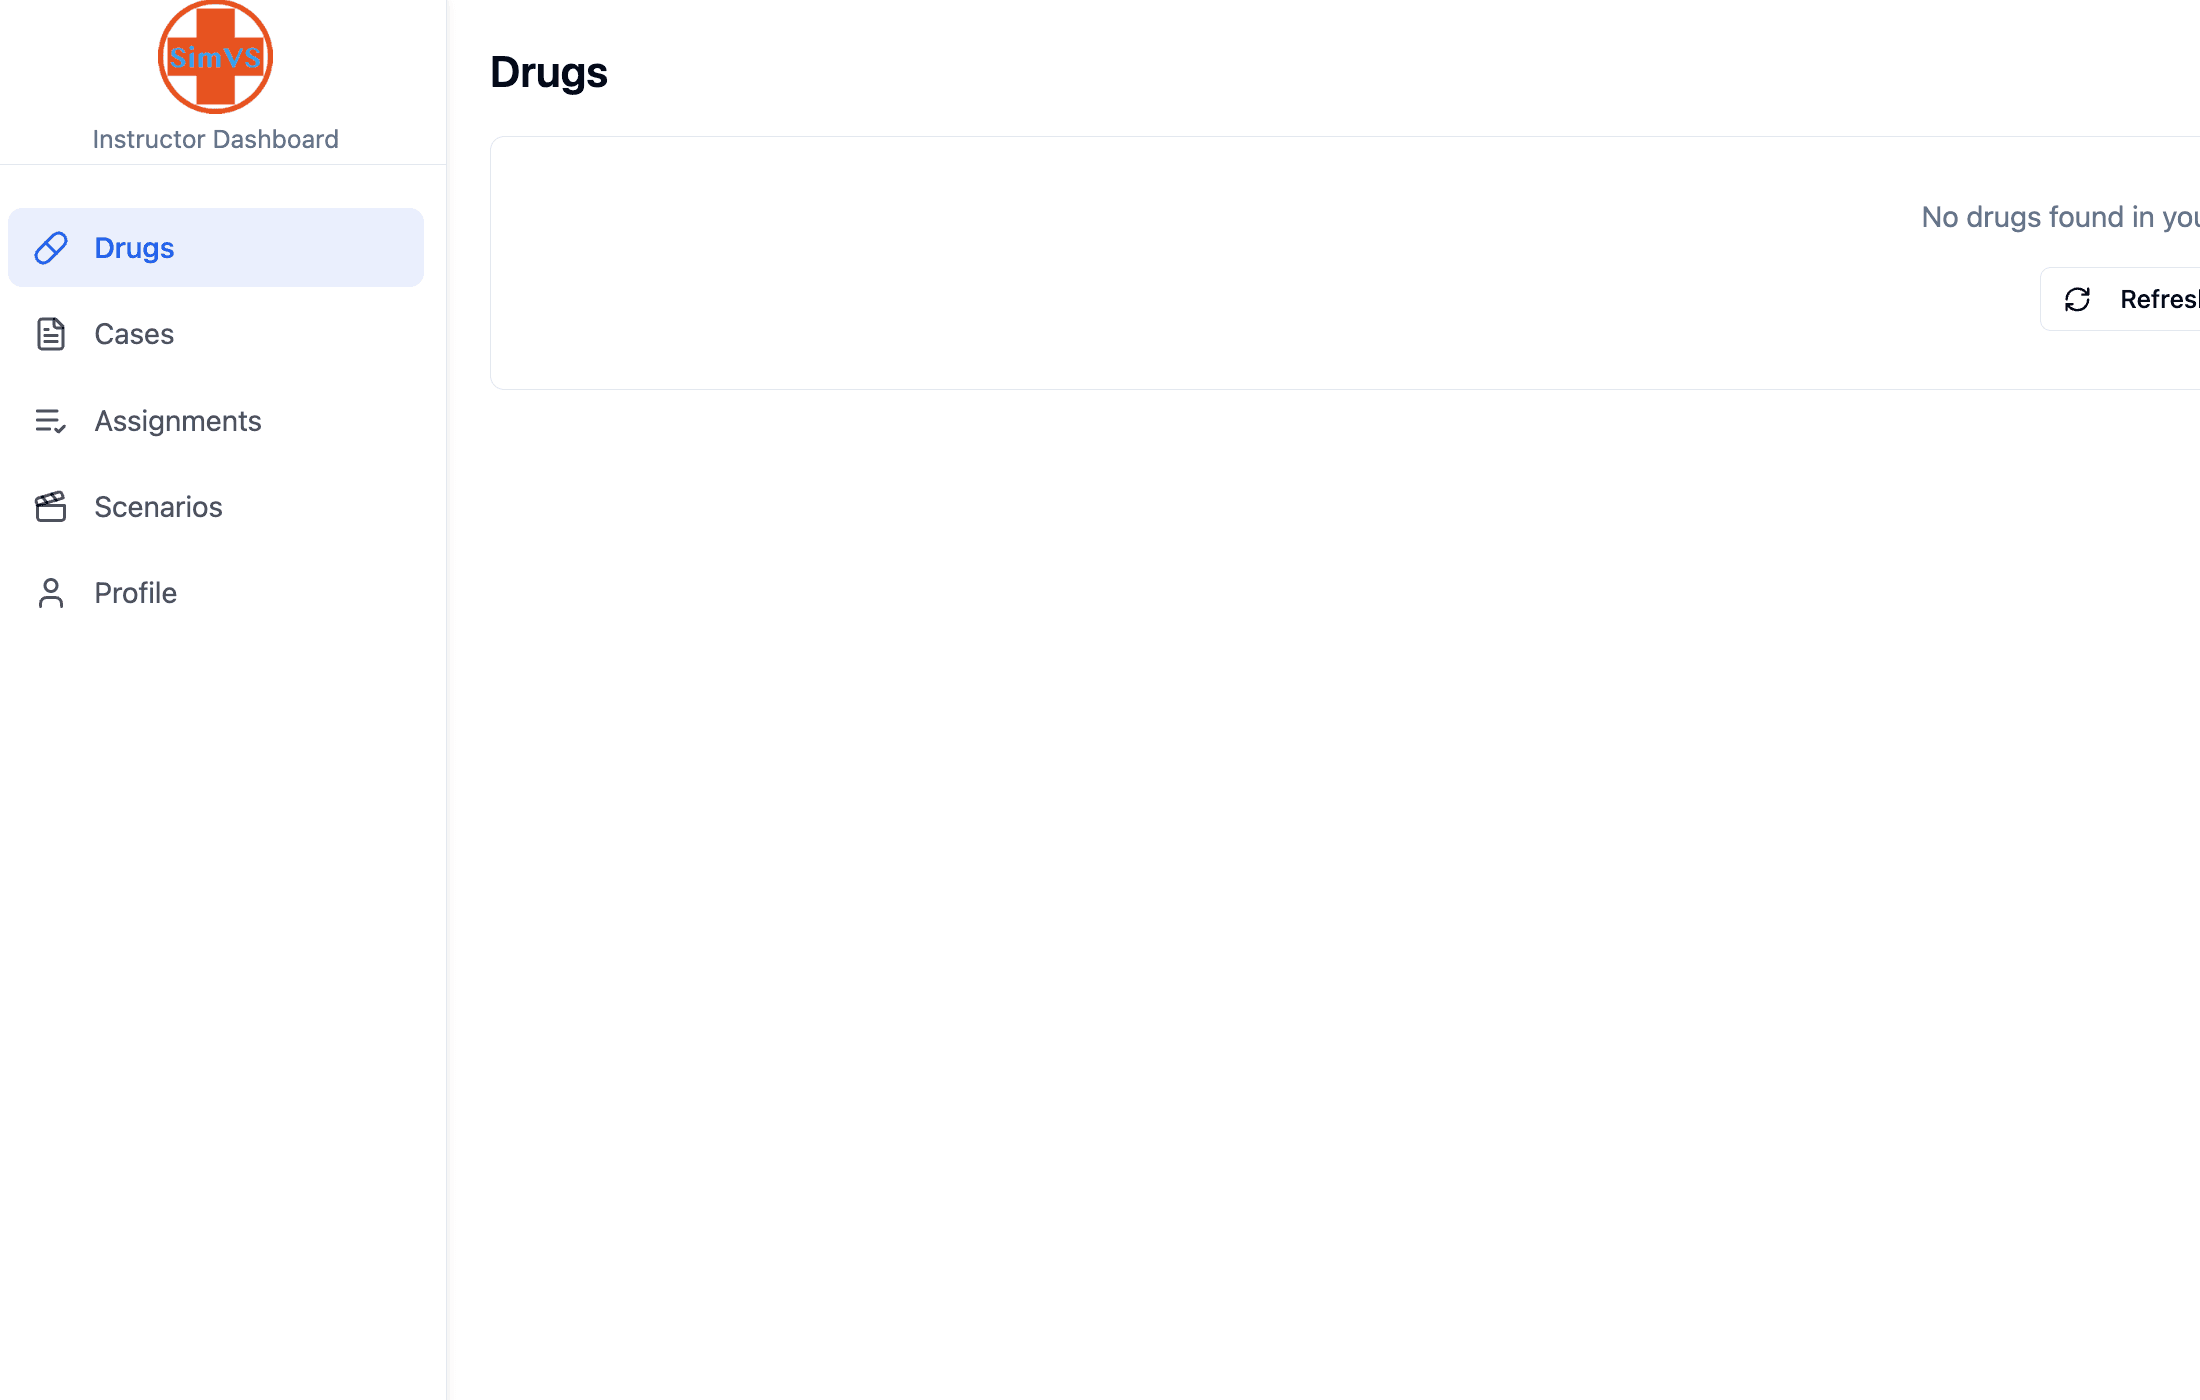
Navigate the Instructor Dashboard
After logging in, you will see the Instructor Dashboard. The left sidebar provides access to all portal features:
- Drugs — manage drug libraries
- Cases — view and manage cases
- Assignments — manage student assignments
- Scenarios — create and manage scenarios
- Profile — update your account settings
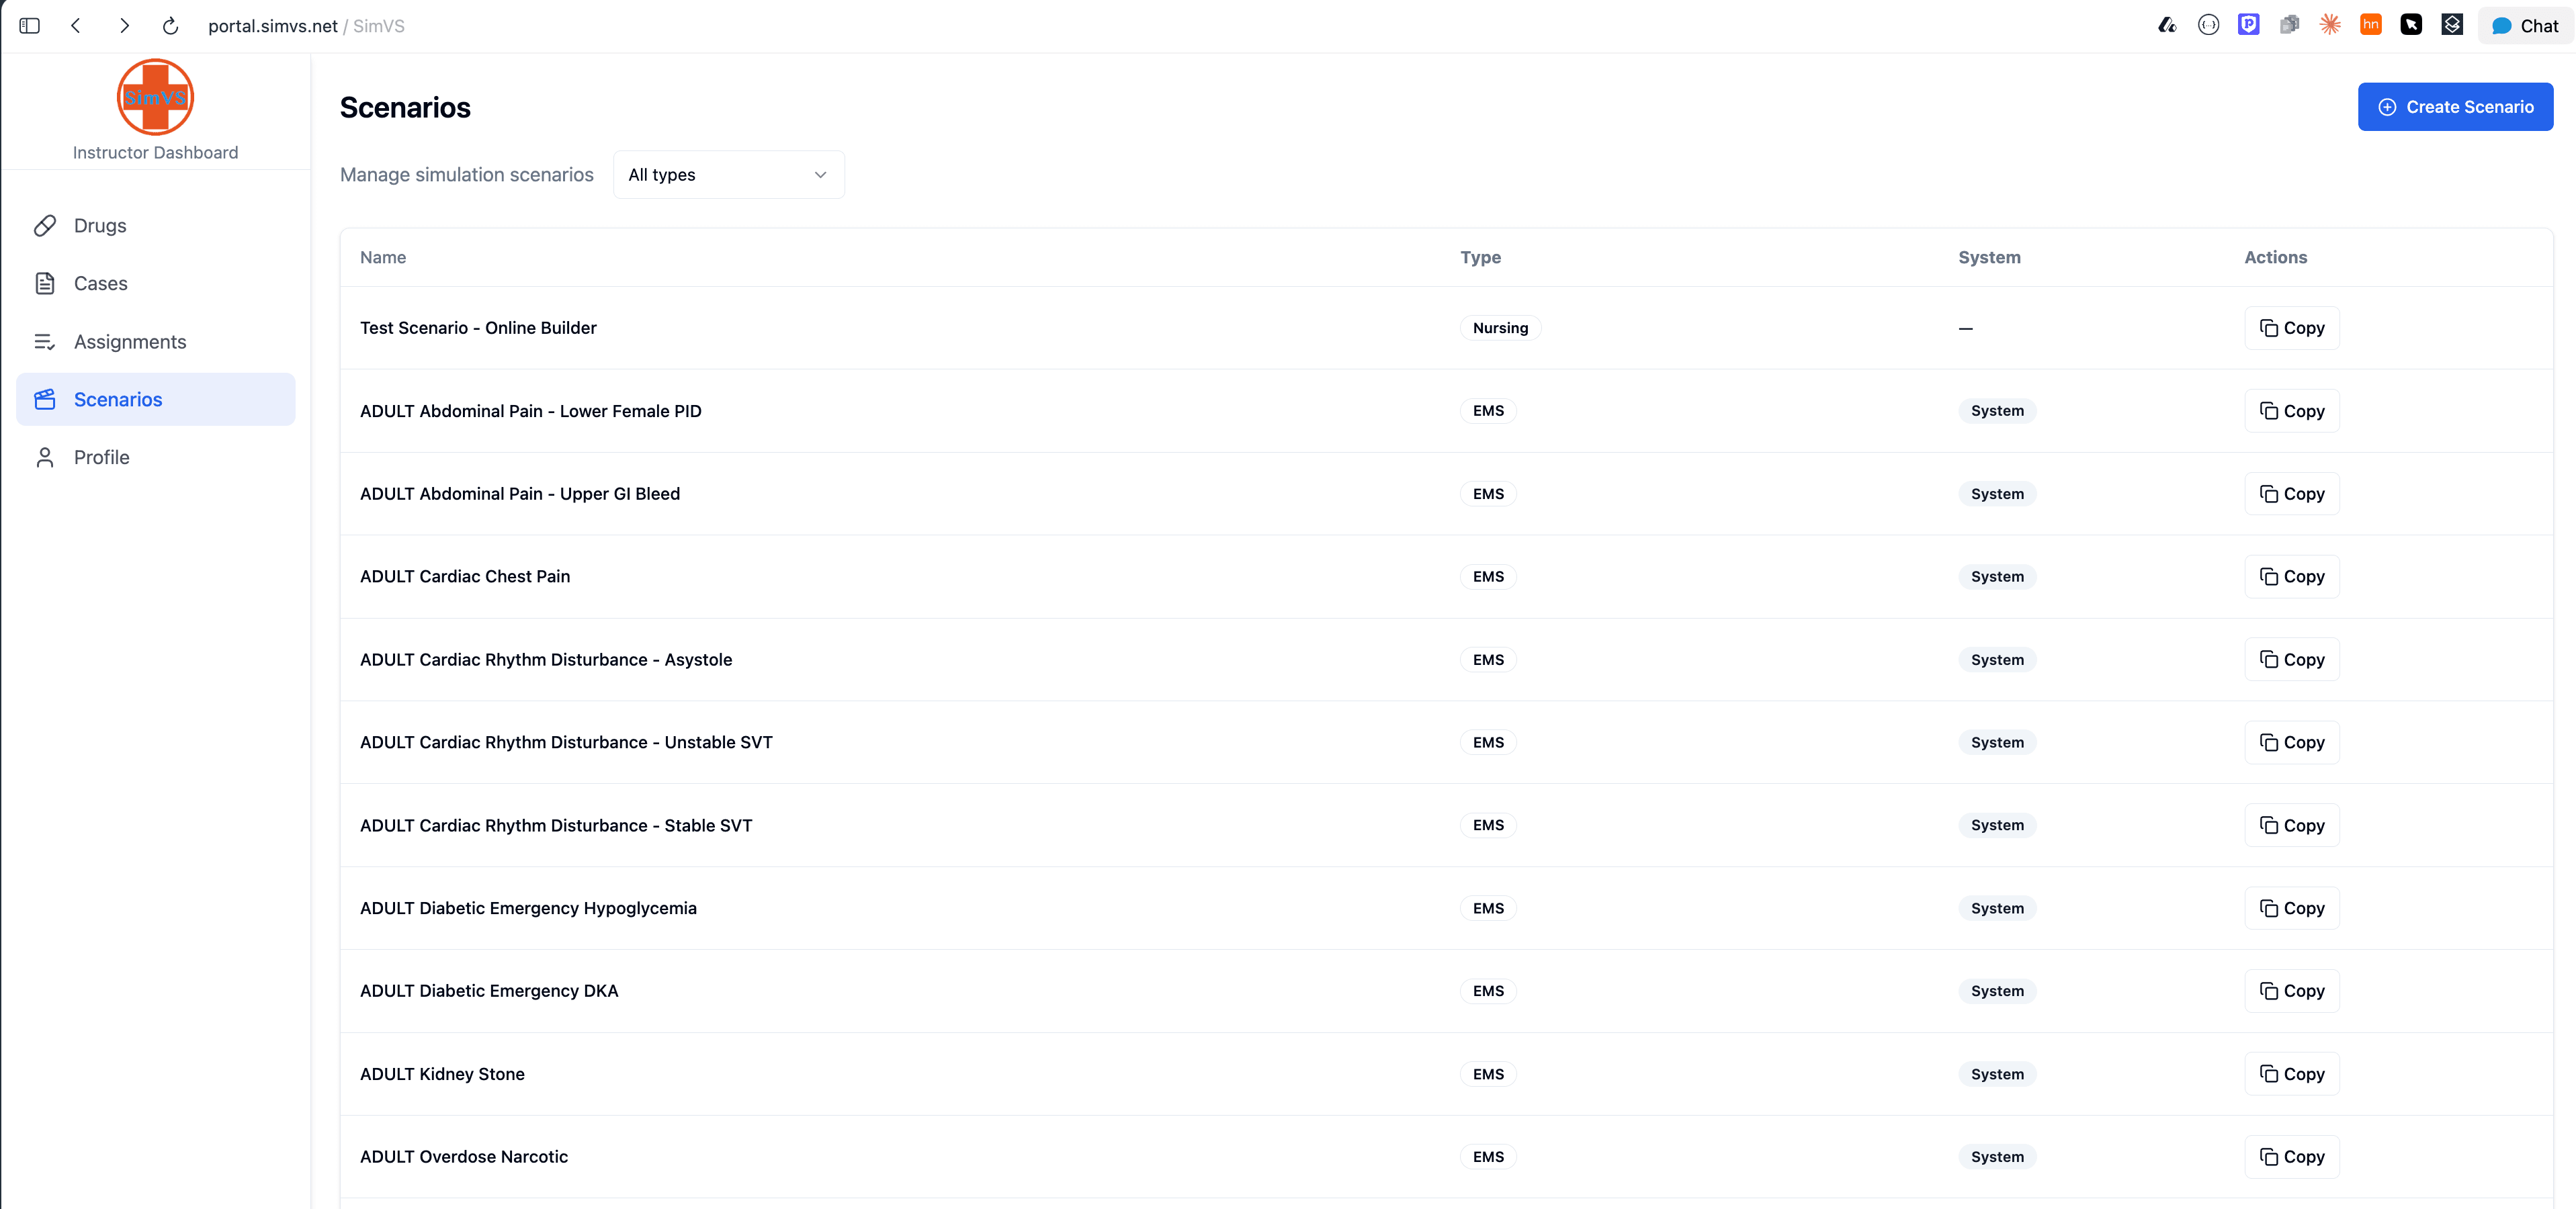
Open the Scenarios Page
Click Scenarios in the left sidebar. You will see a list of all available scenarios, including the built-in System scenarios. Each scenario displays its name, type, system status, and available actions.
Creating a Scenario Online
Start a New Scenario
Click the blue Create Scenario button in the upper-right corner of the Scenarios page.
Configure Your Scenario
The scenario builder lets you configure your simulation just like you would on the tablet. Set the Scenario Name, add one or more Parts, and configure patient parameters across the Defibrillator, Cardiac, and Respiratory tabs.
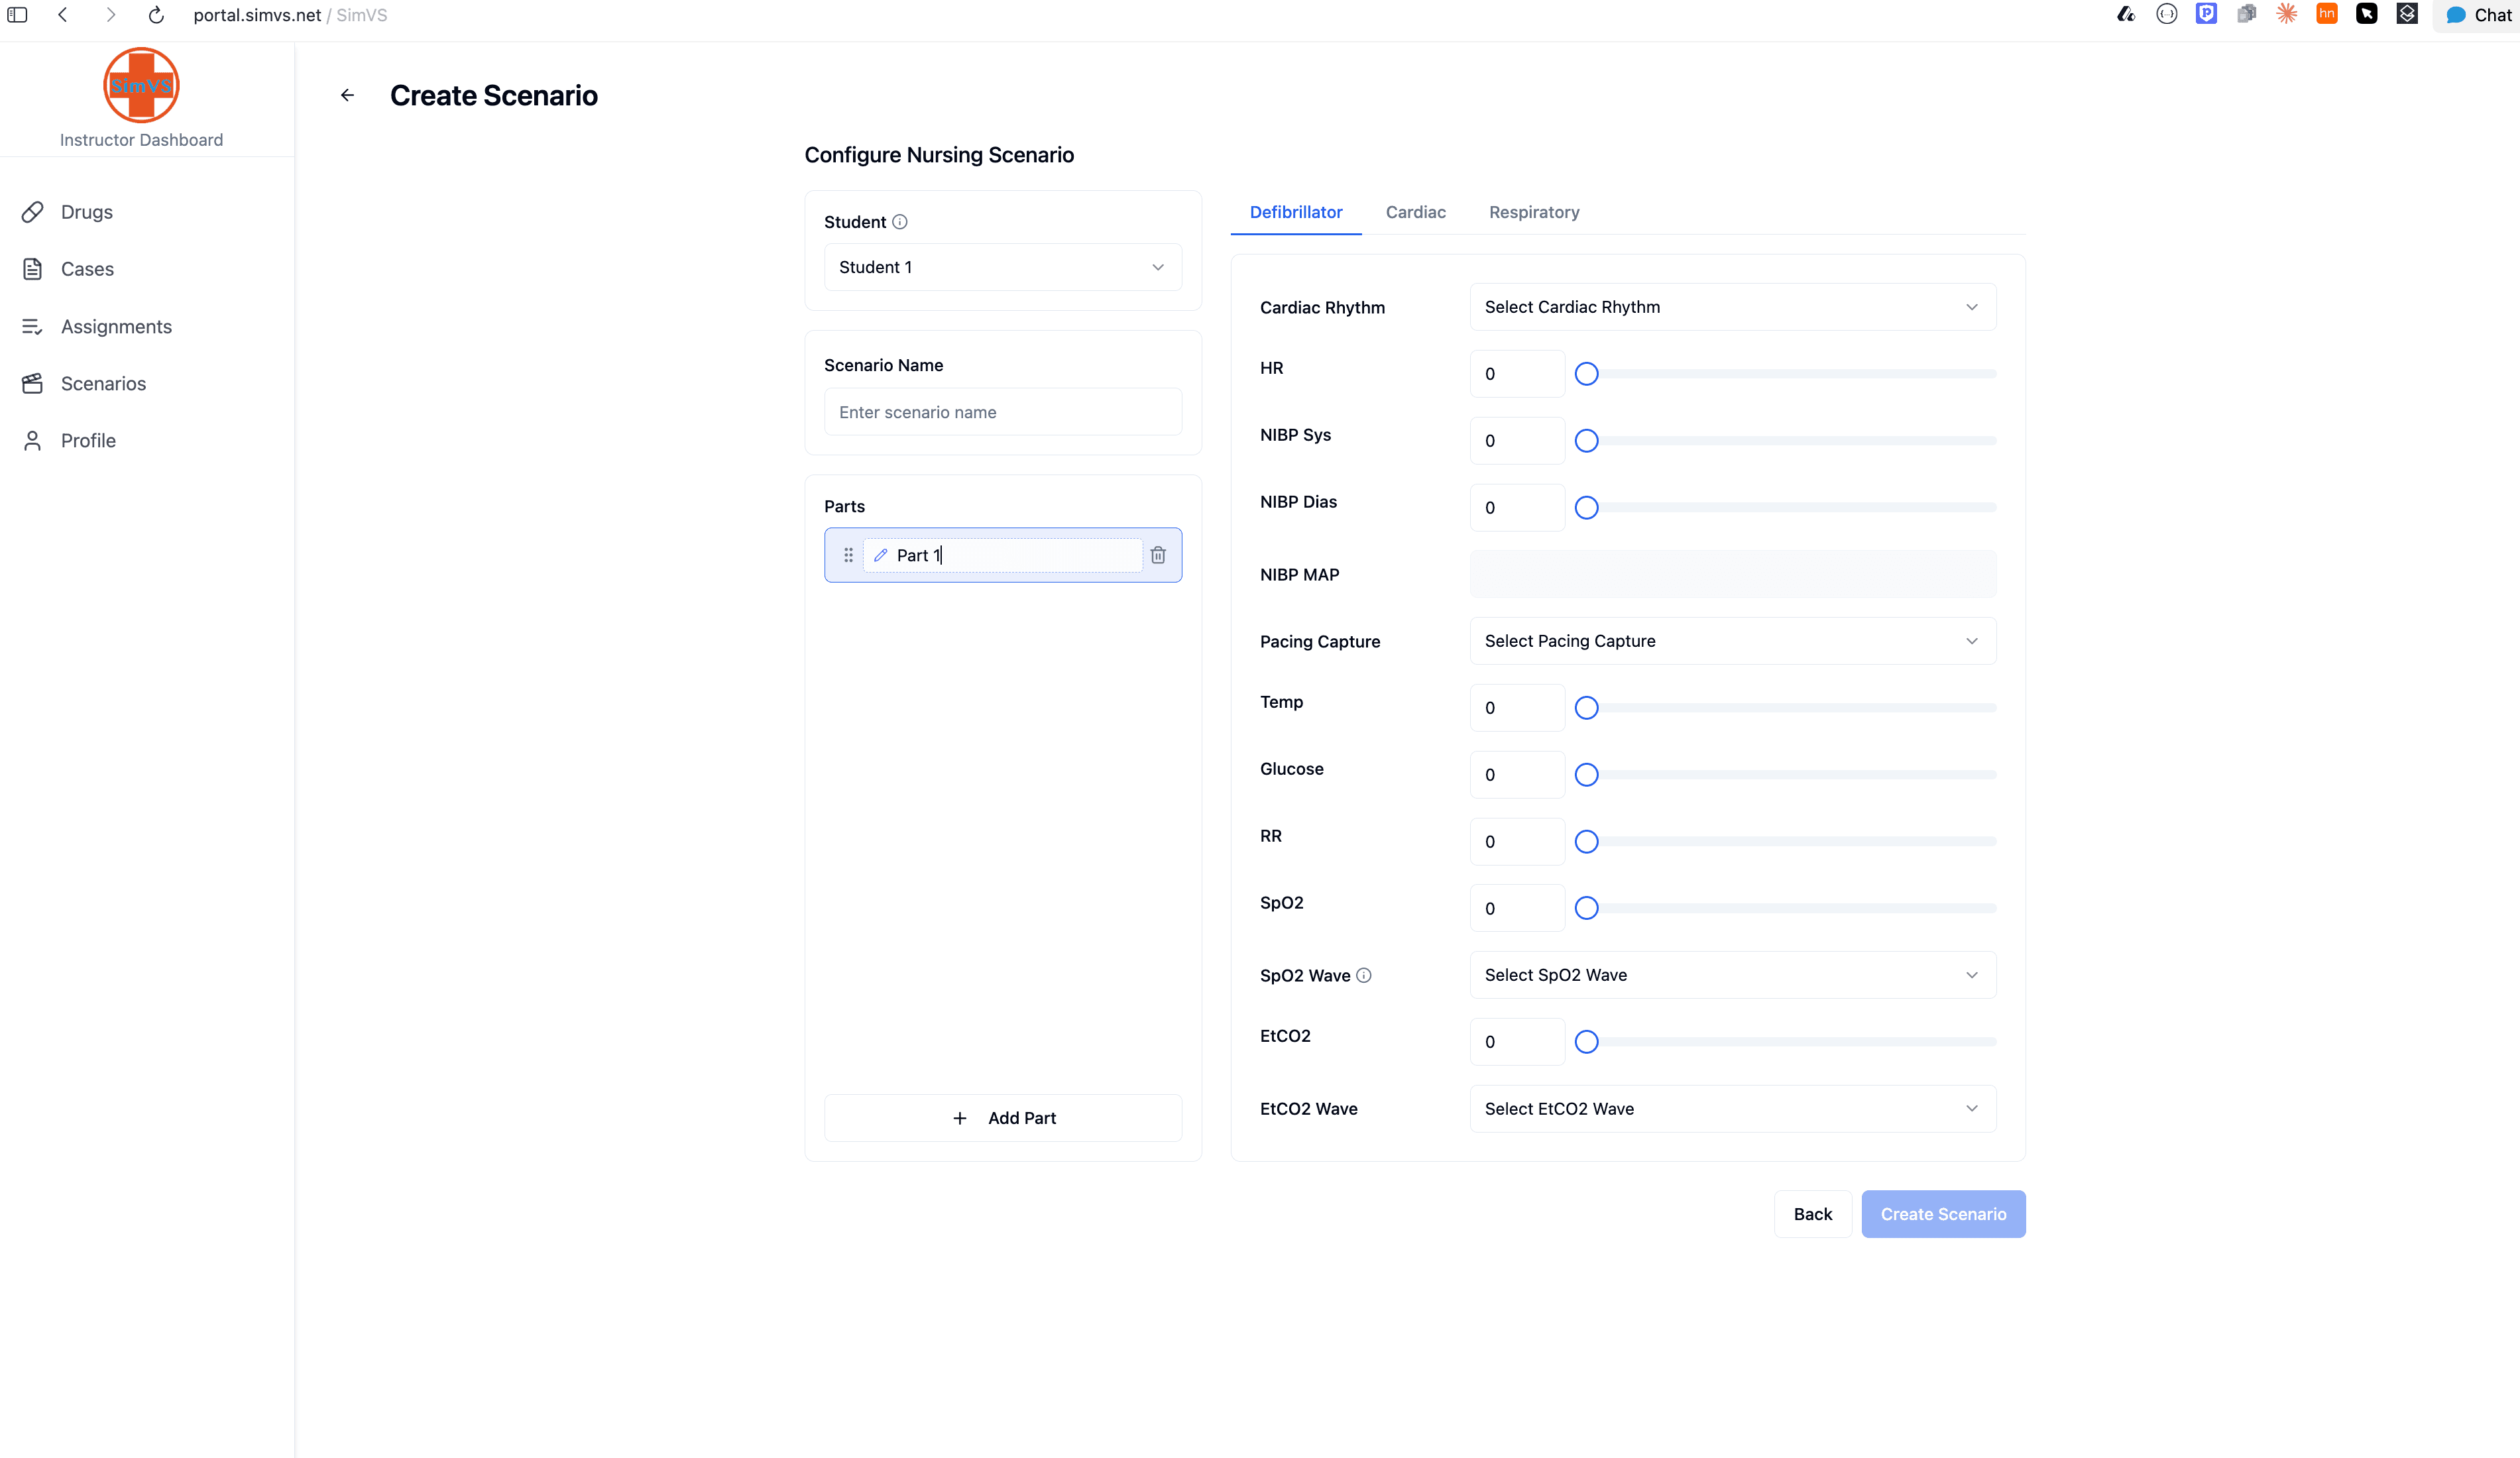
Save the Scenario
When finished, click Create Scenario to save. Your new scenario will appear at the top of the Scenarios list on the portal.

Accessing Scenarios on Your Instructor Tablet
After creating a scenario online, it automatically syncs to your Instructor Tablet:
Open the Scenario Library
Open the SimVS app on your Instructor Tablet and navigate to the Scenario Library.
Select Server
Select the Server radio button (instead of Local). Your newly created scenario will be available and ready to use.

Make sure your Instructor Tablet is connected to the internet so it can pull the latest scenarios from the server. Scenarios created on the portal will not appear under the Local library — always select Server.
Online vs. Tablet Scenario Creation
| Feature | Online Portal | Instructor Tablet |
|---|---|---|
| Access | Any computer with a browser | Tablet only |
| URL | portal.simvs.net | SimVS app |
| Sync | Automatic to all linked devices | Local by default |
| Editing | Full parameter control | Full parameter control |
| Best for | Advance preparation, batch creation | Live adjustments, in-session edits |
For tablet-based scenario creation and on-the-fly editing, see Creating & Editing Scenarios.
Need Help?
If you have questions or need assistance with the SimVS Online Portal, contact the SimVS support team:
- Email: info@simvs.com
- Portal: portal.simvs.net